This last weekend I started testing a new Android app for fun, and ran into some trouble getting Burp Suite working properly. I burned a whole afternoon troubleshooting the issue, and decided to write up what I found out and two different ways I got it working.
Background
I’ve done quite a bit of Android testing in the past and my setup usually involves a Genymotion VM or my old rooted Nexus Tablet. I run Burp Suite locally, install the User Cert as outlined in Portswigger’s documentation, configure a WiFi proxy and I’m off the races.
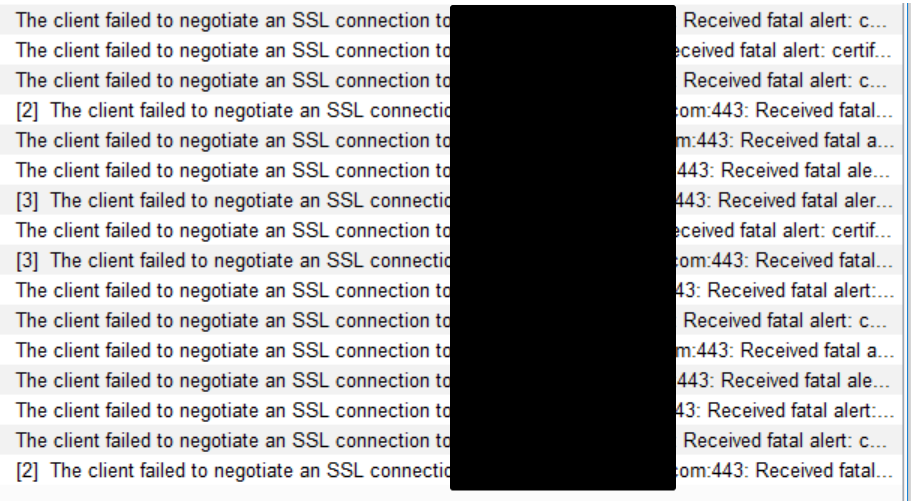
This particular app I wanted to test, however, required a minimum API level 24 (Android 7.0 - “Nougat”) and suddenly it wasn’t working. I followed the steps I always do but saw nothing but “connection reset” errors in Burp:
After a few frustrating hours of troubleshooting, I finally figured out the issue lied with the latest versions of Android (API >= 24). Before I go any further, all the information I needed was found in these great write-ups:
- https://serializethoughts.com/2016/09/10/905/
- https://android-developers.googleblog.com/2016/07/changes-to-trusted-certificate.html
Starting with Nougat, Android changed the default behavior of trusting user installed certificates. It’s no longer possible to just install the Burp CA from the sdcard to start intercepting app traffic. Unless otherwise specified, apps will now only trust system level CAs. The failure happens “invisibly” and is responsible for all the alerts I saw in Burp Suite.
There’s two ways to bypass this, and I’ll walk through them both.
- Install the Burp CA as a system-level CA on the device. My recommendation for the easiest solution, but does require a rooted device. Also added benefit of not having to set a lockscreen PIN :)
- Modify the manifest and repackage the app. Slightly more work, but doesn’t require root privileges.
Note: I did all this with Burp Suite Pro on my Windows 10 machine and am using an Android 7.1 (API25) Genymotion VM, but the steps should be applicable to any setup.
Install Burp CA as a system-level trusted CA
Since the “traditional” way of installing a user certificate doesn’t work anymore in Nougat and above, for me the easiest solution is to install the Burp CA to the system trusted certificates. You can see all the system CAs that are bundled with an Android device by going to Settings -> Security -> Trusted Credentials and viewing system CAs. You’ll see the similar CAs you’d see in a browser bundle.
Trusted CAs for Android are stored in a special format in /system/etc/security/cacerts. If we have root privileges, it’s possible to write to this location and drop in the Burp CA (after some modification).
Export and convert the Burp CA
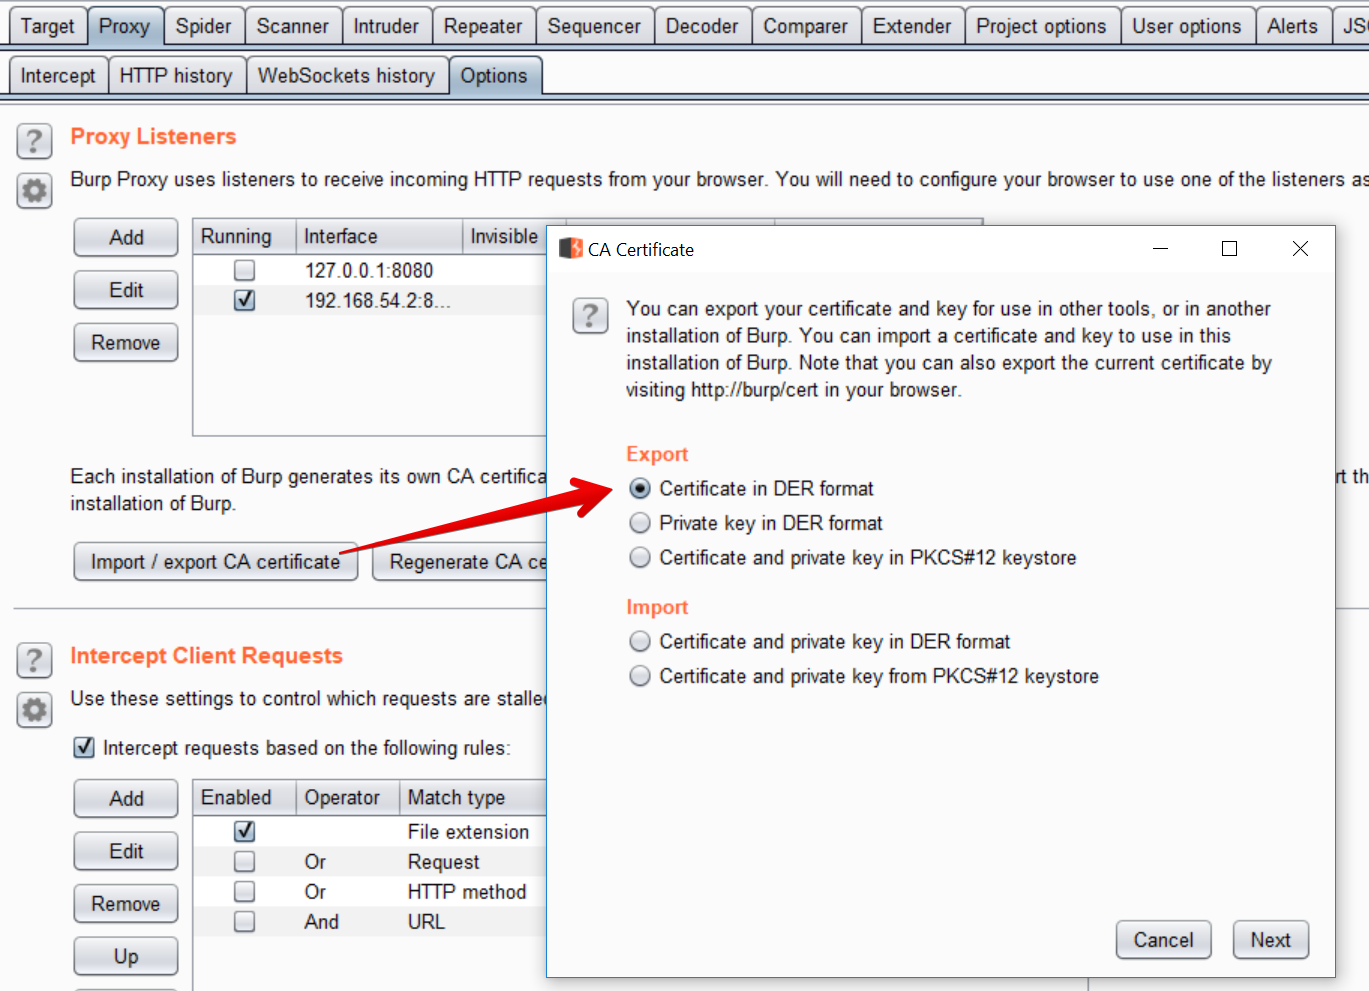
The first step is to get the Burp CA in the right format. Using Burp Suite, export the CA Certificate in DER format. I saved it as cacert.der
Android wants the certificate to be in PEM format, and to have the filename equal to the subject_hash_old value appended with .0.
Note: if you are using OpenSSL <1.0, it’s actually just the subject_hash, not the “old” one
Use openssl to convert DER to PEM, then output the subject_hash_old and rename the file:
|
|
For example, with my certificate:
Copy the certificate to the device
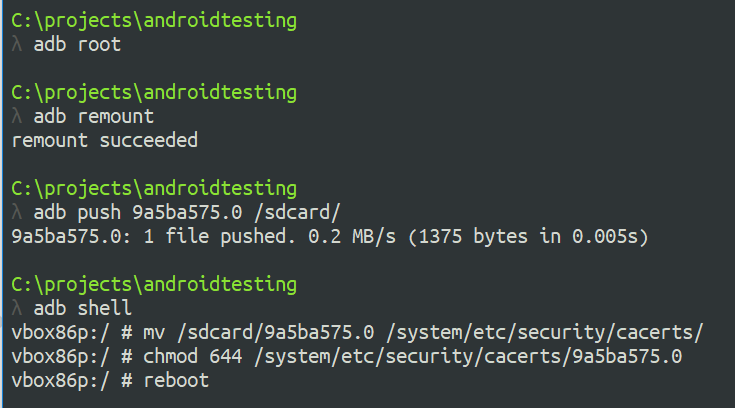
We can use adb to copy the certificate over, but since it has to be copied to the /system filesystem, we have to remount it as writable. As root, this is easy with adb remount.
|
|
The just drop into a shell (adb shell) and move the file to /system/etc/security/cacerts and chmod it to 644:
|
|
Lastly, we have to full reboot the device with either adb reboot or a power cycle.
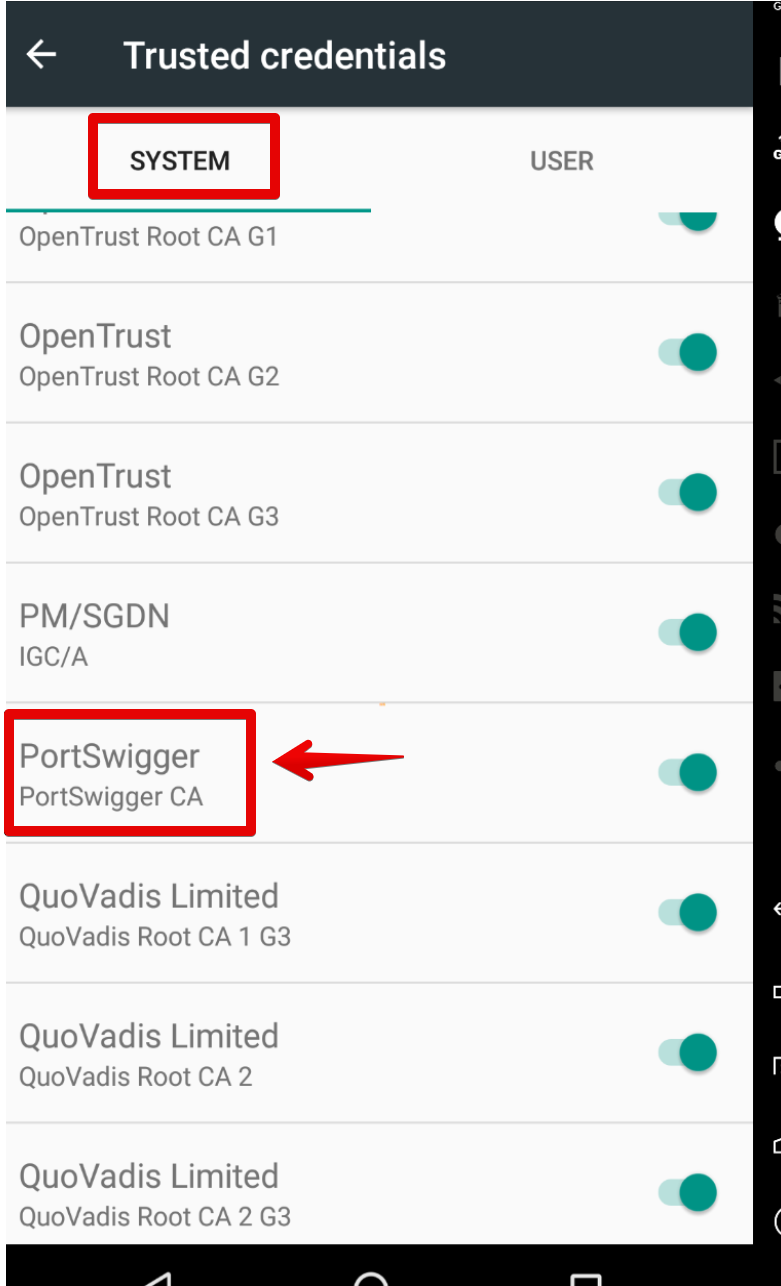
After the device reboots, browsing to Settings -> Security -> Trusted Credentials should show the new “Portswigger CA” as a system trusted CA.
Now it’s possible to set up the proxy and start intecepting any and all app traffic with Burp :)
Mofiying and repackaging an app
If you don’t have root or don’t want to modify the system trusted certificates, you can install the Burp CA as a user cert and then modify the specific APK you want to MitM.
Starting with Nougat, apps will ignore user-installed certificates by default. This is evident by looking at logcat output when launching the app:
Without a network security config, the app will only trust system CAs and will not honor the user installed Burp certificate.
To get around this, it involves:
- Disassembling the APK
- Adding a new XML resource to define a network security profile
- Modifying AndroidManifest.xml
- Repackaging and self-signing the APK
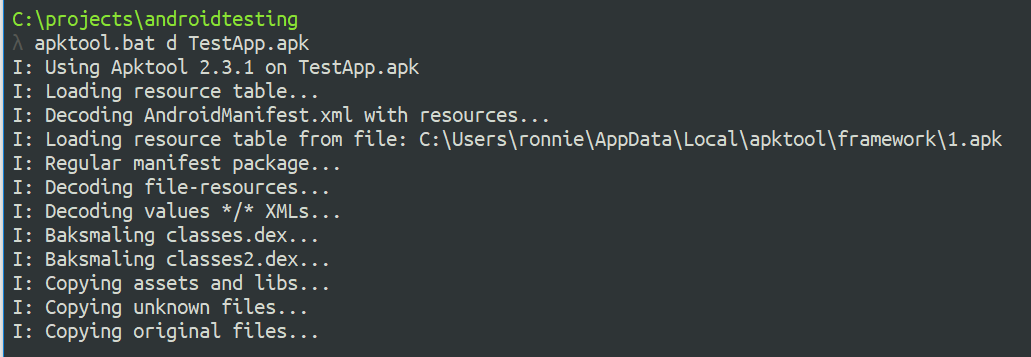
Disassemble and modify the APK Start by using apktool to disassemble the APK
|
|
Next, add a new network security config by creating the file network_security_config.xml in the res/xml directory:
|
|
The config needs to explicitly state that trusting user certs is acceptable. The entire contents should be:
|
|
Finally, we have to define the network security config in AndroidManifest.xml. In the <application> tag, add the android:networkSecurityConfig attribute pointing to the new XML file:
|
|
Reassemble and Sign
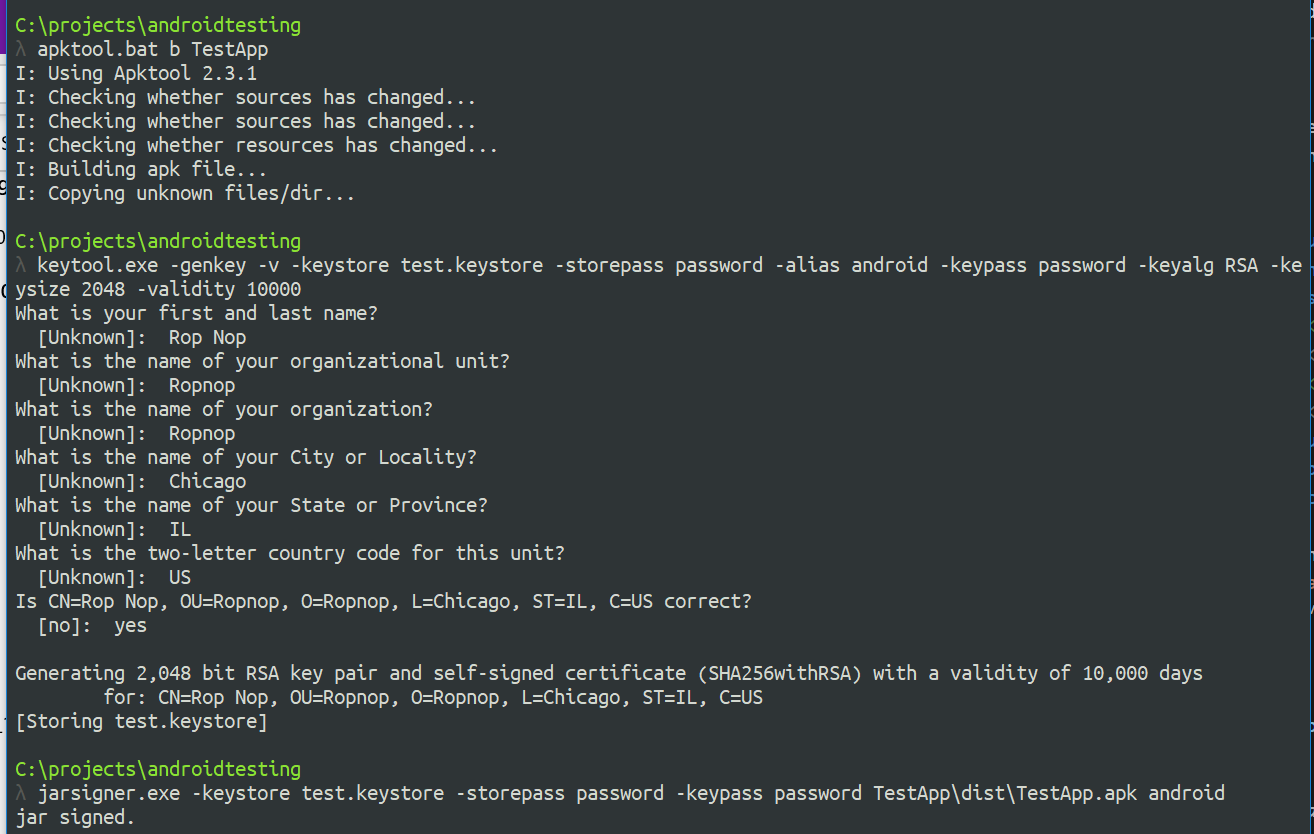
Finally, the APK must now be rebuilt and signed in order to be installed. Using apktool b, a new build will be created in the dist/ directory:
|
|
To self-sign the app, use keytool to create a new keystore and key, then jarsigner to sign the new APK:
|
|
Lastly, install the new APK with adb:
|
|
Now, when we start the application, the logcat output will indicate a new network security config is being used:
With the Burp CA installed to user certificates, we can now MitM the application traffic!
tl;dr cheatsheet
Install System CA
|
|
Modify APK
|
|
Hope this helps! -ropnop
